Showing posts with label testout. Show all posts

Friday, November 15, 2013

Bringing Adrian to 3D

Following our previous tutorial with Mr.Muzamir, he suggested us to model Adrian in 3D instead.

I've never actually tried modelling a character before (I'm okay with objects, but not an actual finished 3D character), so I went to Youtube and look for a video tutorial.


Since Adrian is of a chibi proportion, I had to be specific and look for a chibi modelling tutorial :D

And here's what I've done so far!


I'm not exactly finished with the tutorial, I've only done the topology of the head. Now I need to import an image of Adrian so I can tweak it as close as how Adrian originally looks like.

Stay tuned!


Sunday, November 10, 2013

Tryout with Lower Third

Instead of putting the whole 'A stands for Apple' text in the animation for the children to read, we decided to change a little bit on how the text would appear.

We'll spell out the letter word by word, so that the children would be able to read the letters and pronounce it at the same time. There will be a narrator that will spell aloud the letters for the children when they play the animation as well. For now, we chose the colour Red as the letters appear, but when the narrator reads the whole sentence aloud, it will turn to Black.

Here's a sample on how it'll look like.


Monday, November 4, 2013

Sample Animation


I manage to complete the first animation, which is for the letter 'A'! 


The feedbacks given were;

  • For the lower third, have more considerations for the colours that would attract the children to read it
  • Take note of the fonts used, maybe 'Arial Black Rounded' for instance
  • Think about how the lower third can help the children to read, since it is targeted to children aged between 3-4, research on how much they can read


Monday, October 28, 2013

Other Characters

The characters/objects that are going to be in the animations are;
A - Adrian, Apple and Ant
B - Boo, Ball and Book
C - Chair, Cat and Cow

Mr.Muzamir suggested that the rest of the characters should have the same style as Adrian. Now that we've broken down the list, we narrowed down our characters to the Ant, Cat and Cow that would require the same style as Adrian.

Here are the tryouts for the character designs :D


Behold... The apple.


 The rest of the objects would probably appear in the next post. Stay tuned!

Angie & Amirah

Simple Tryout


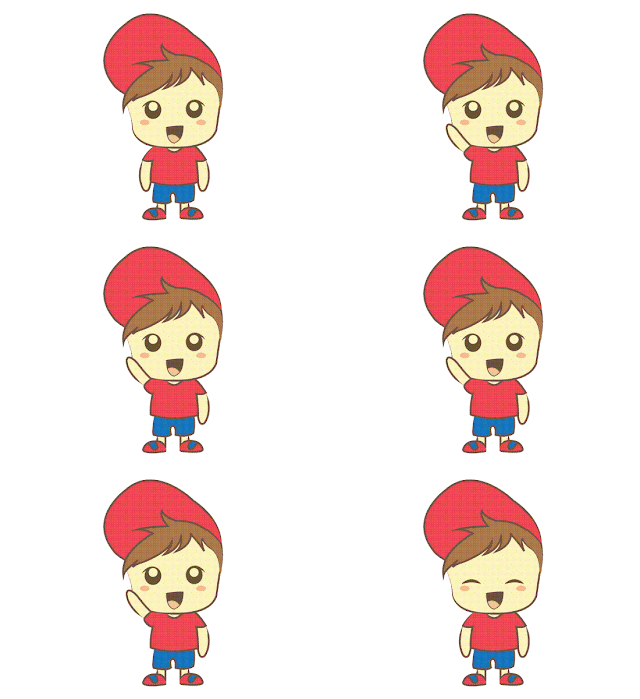
I did a simple animation of Adrian waving to the screen using Flash. Although I'm not sure why the quality of the image is so .. pixelated. It could be because of the setting that I used when I exported it as a .gif format.

Angie.

Monday, October 21, 2013

Character re-design


For the previous character design, we received feedbacks from Mr Muzamir:
- Character has no root.
- Needs more stylization on colors, cartoons style and strokes.
- Clean up the strokes.

Therefore I have done a few research on cartoon characters and the style. 

What I wanted was a character that has a human feature but at the same time cartoon-ish and stylized. 
The main character, Adrian also has a cheeky and playful nature, therefore it should reflect on its face. 
Some good examples can be seen below:


Cheeky boy characters are usually with a cap and has a mischievous look, that can be achieved through the eyes and mouth.


The style that I am interested in which has a cartoon element but also has a human feature which is noticeable.


Cartoon from "Calvin and Hobbes" is also used as reference and is my favorite style among others. 
A style that Lai Yenn was interested in is known as the chibi style which plays with proportion. It has a big head and a small body and usually comes with big eyes. 


 Characters that inspired Lai Yenn are chibi characters like Ni Hao, Kai Lan and Pucca.


 Both of us re-designed Adrian, of different styles, but the same colour scheme that we've come up with earlier. 
Left: Designed by Amirah, Right: Designed by Lai Yenn.

Amirah & Angie. 


Friday, October 18, 2013

Introduction on Adrian

"Nice to meet you! My name is Adrian!"

"Do you know what your alphabet stands for?"

"Let's find out together!" 

-Amirah & Angie 

Monday, September 23, 2013

ARmedia Test

I managed to download ARmedia plugin for Maya few weeks ago but when I tried to look for online video references, there weren't many for me to refer to. Most of them were only showing the finished product and projected them from their webcam with the printed marker.

Luckily, I manage to find an installation and user guide that was released by the company themselves.
http://www.inglobetechnologies.com/en/new_products/arplugin_maya/download/_current_/UsersGuideWin.pdf

I've tested out with Maya, with a model that we got from Mr.Kim from our previous semester, and a default marker that the plugin has provided. And it seems to be working fine! I've tried using my own marker before this, but I're not sure why it doesn't work.

Nevertheless, we're still trying to find out on how to publish the file, because the file that we exported was in an .armedia format.

Once we manage to figure that out, we'll post the outcomes here!

-Angie-


Friday, September 20, 2013

Testing with Metaio

We decided to test Metaio first. This is because we had consultation with Mr. Razif, expert of Ar and would assist us, he was more familiar with ARMedia at the same time, he is able to look into Metaio since Taylor's provide the full version of Metaio.

We tested on one of the software called "Metaio". Unlike D'fusion, Metaio is much straight forward and does not have much features as it is the trial version. We have yet to try out the full version of Metaio that is available here in uni.

(First QR code with Metaio)

(With video)

First of all, you will need the Junaio app in your mobile device to be able to scan and load the AR.
The splash screen of Junaio upon launching.
Press the button on the top right side to scan QR code.

You're ready to scan the marker.


After launching Junaio, scan the Qr code and once Junaio has finish loading the page, you will need to scan this marker. 

Scan me!


What I concluded is that you can have the same marker for both QR code because the AR that is loaded depends on the QR code scanned. 
Meaning, the QR code will connect the device to the cloud which stores the AR. 

Observation/ Conclusion:
Metaio takes a longer time to load the AR. It is not so suitable to be used for real time.

For our game, we need 3 or more different markers to be able to be detected and launched. Metaio does not allow this action and the reason:

  • Metaio is not a standalone app/software. It needs QR code to be able to read the marker. Therefore, one QR code only reacts to one marker at a time. 
-Trying it out-


Solution: Use a software that does standalone and wraps everything into an app. This way all the information will be saved in the cloud and can work together at the same time. (Can detect all markers simultaneously)
We are now looking at ARMedia (ARToolKit software)- URL: http://www.armedia.it/dev_tools.php